Reading:
Use the IoT controller to remotely control the fan. A 12V battery is needed to power the controller, and an 18B20 temperature sensor shows the current ambient temperature. Finally set up a linkage task, so that it reaches the set value can automatically open the small fan.
01 Preparation materials
Internet of Things Controller, 18B20 Temperature Sensor, 12V Small Fan, 12V Battery
02 connection
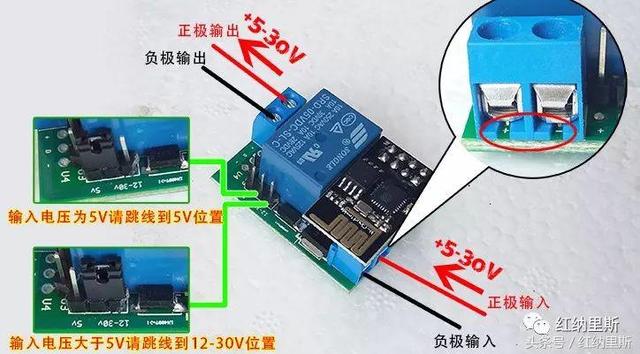
Detailed connection diagram of the IoT controller:
Please click here to enter a picture description
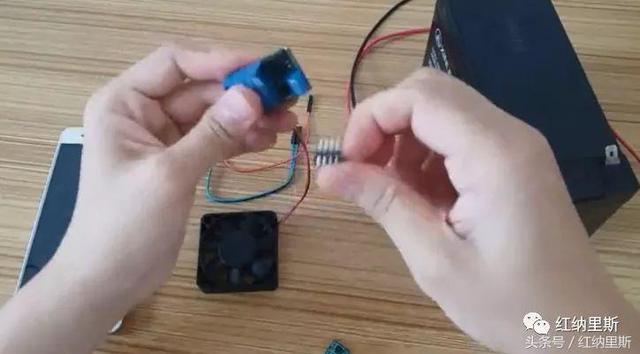
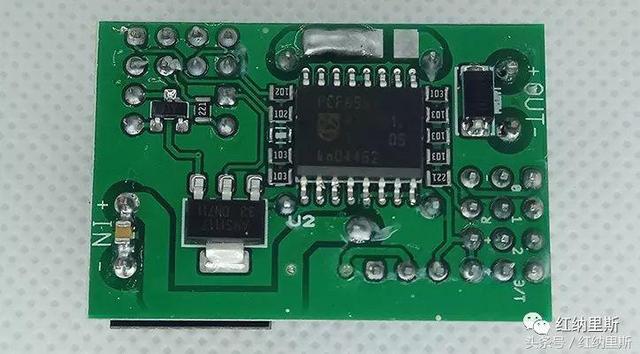
1. First remove the 8266 chip, and then look at the note description at the bottom of the IoT controller - IN and OUT. (IN is the input, OUT is the output, + is the positive, - is the negative)
Please click here to enter a picture description
Please click here to enter a picture description
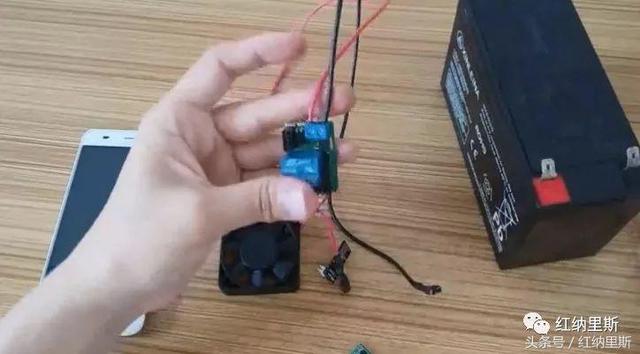
2. Then connect the battery power cord to the input of the IoT controller. The red wire is connected to its positive pole and the black wire is connected to its negative pole. ( Don't worry about connecting the battery to the battery first )
Please click here to enter a picture description
Then reinstall the 8266 chip back.
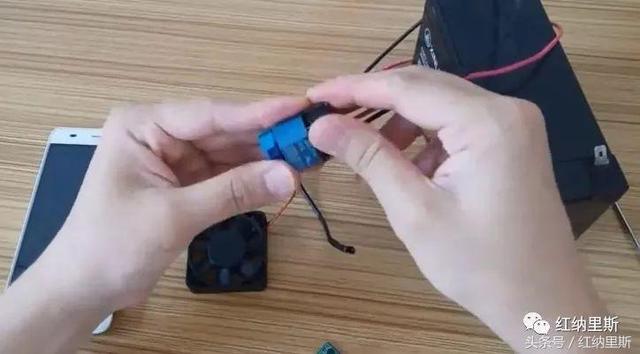
Please click here to enter a picture description
3. Connect a small 12V fan at the output of the IoT controller. The red line of the 12v fan is positive and connected to the positive terminal of the controller output. The black line is connected to the negative terminal of the output terminal. ( Don't worry about connecting the battery to the battery first )
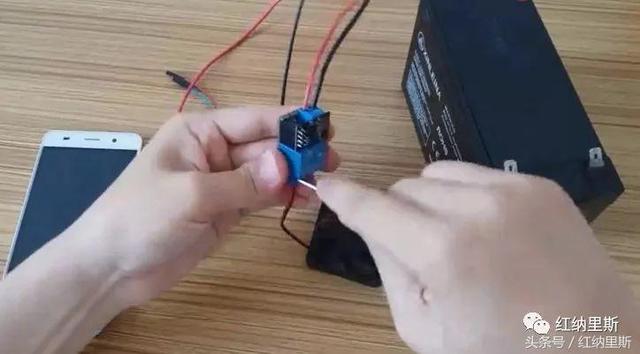
Please click here to enter a picture description
4. Jumper cap. Because the power supply is 12V, we will change the jumper cap to the right 12V. (If the power supply is 5V, change the jumper wire to the left 5V here, if it is 12V, change the jumper cap to 12V)
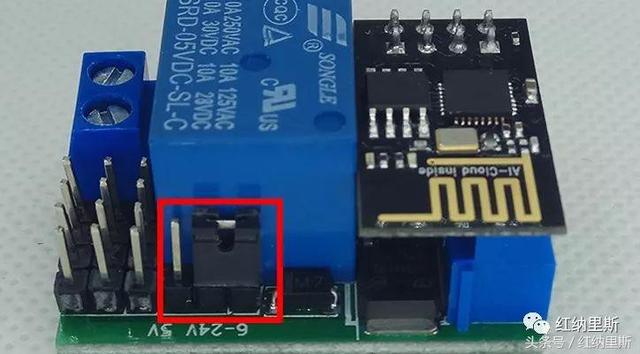
Please click here to enter a picture description
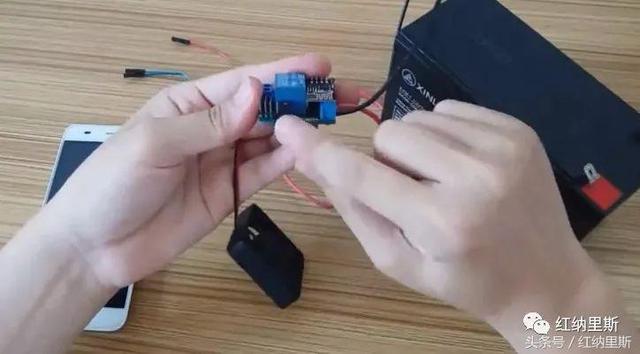
Please click here to enter a picture description
5. Connect the 18B20 to the IoT controller IO port. Understand the IoT controller's multi-function data interface in advance, and then connect the 18B20 to the IoT controller's multi-function interface.
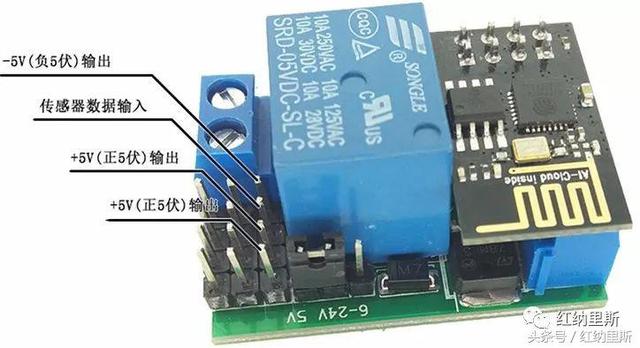
Please click here to enter a picture description
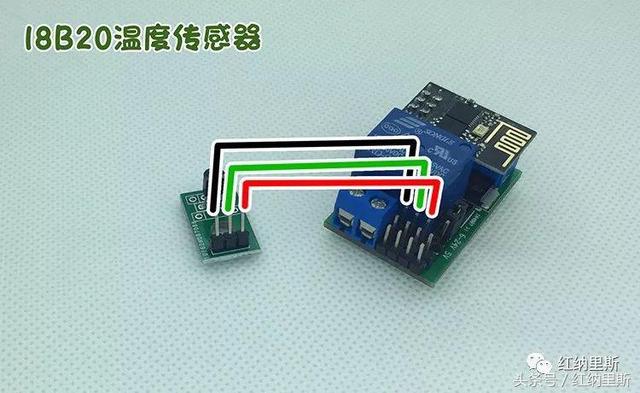
Please click here to enter a picture description
6. Make sure the jumper cap jumps to the right position before connecting the power cord to the 12V battery. At this time, we will see the IoT controller's chip light, indicating that normal work has begun.
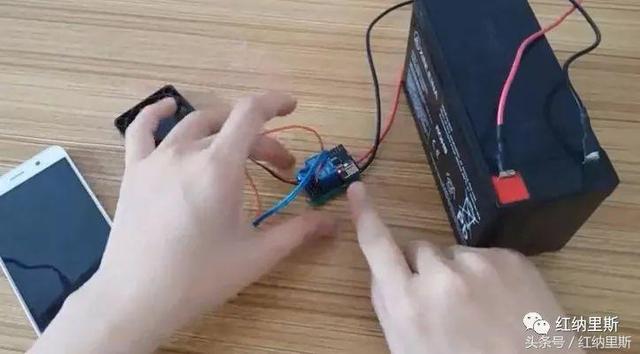
Please click here to enter a picture description
03 Internet of Things Controller Network Configuration
1. After the device is powered on, it generates a device hotkey that starts with “ESP†and does not have a password within 30 seconds. At this time, we open the wifi management interface of the mobile phone and click here to connect the “ESP_†AP hotspot (AP hotspot of the IoT controller).
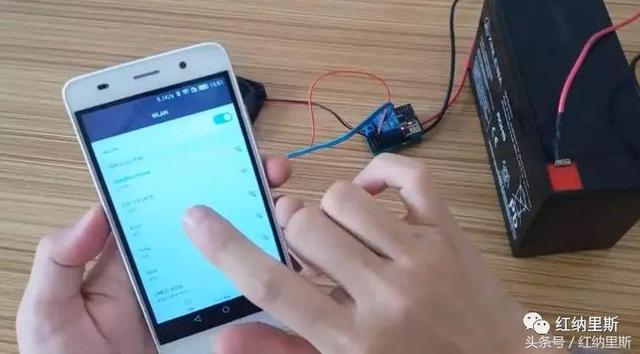
Please click here to enter a picture description
2. After the connection is successful, we open the browser and enter 192.168.4.1 at the browser address to enter the device's configuration page.
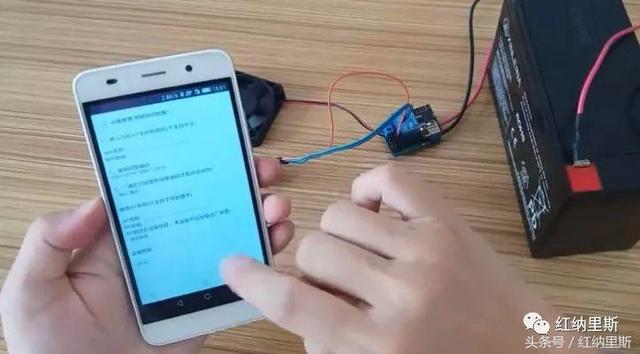
Please click here to enter a picture description
Extra-curricular supplement : If you install the APP to our IoT controller, click on the "+" in the upper right corner - "No network control". The same is the network configuration interface that can enter the IoT controller.
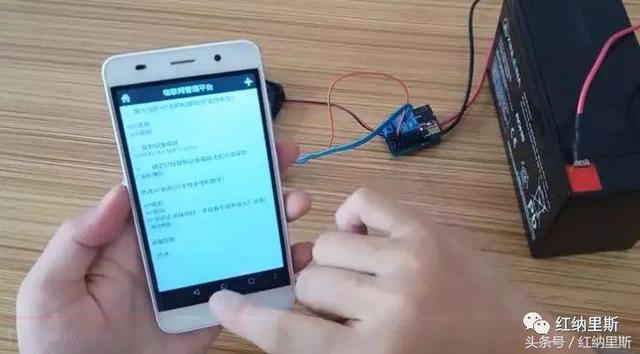
Please click here to enter a picture description
3. Describe the network configuration interface in detail. First we will see there are three parts:
Part I: Configuring the WiFi Controller for the Internet of Things Controller ( Note: The wifi name and password must not contain special symbols such as Chinese, symbols, spaces, etc. ).
The second part: modify the AP name and password. The wifi we are currently connected to is the AP name (which does not need to be modified under normal circumstances ) for "ESP_". If we change its name and password, in case of forgetting the password, we have to reset it and reset it to use USB to serial port.
The third part: equipment control, is the local control. For example, if the home wifi is not on the Internet, then we can connect to the AP hotspot of the IoT controller again. Click the button to control the device.
Now we actually operate, follow the prompts to go, enter the home WiFi name and wifi password, and then copy the code (in the later add a device will be useful), and finally click Save. The beginning of "ESP_" will disappear.
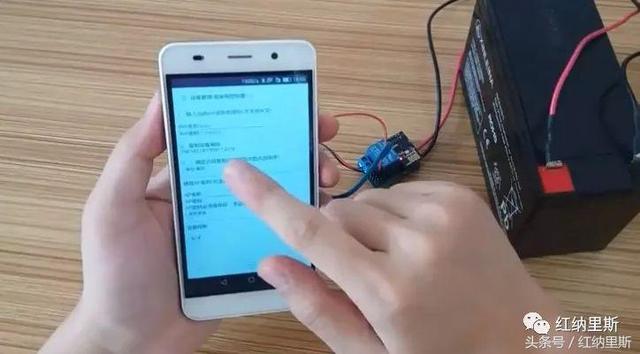
Please click here to enter a picture description
04 Internet of Things Management Platform
1. After connecting home WiFi, open the phone's browser to enter "o8y.net", enter the Internet of Things management platform, new users need to register an account or log in directly with qq.
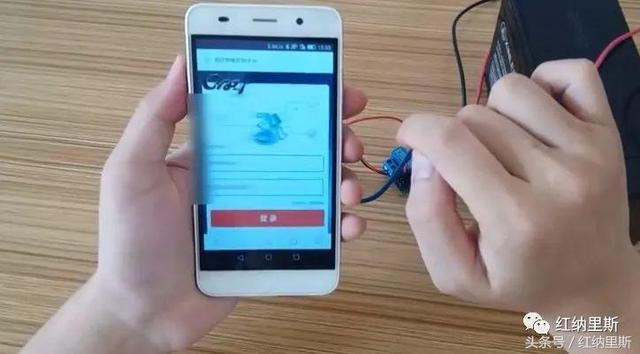
Please click here to enter a picture description
2. Enter the interface of the IoT management platform and click "Add Device" in the lower left corner. A dialog box will pop up. Follow the instructions above to fill in the device's name (can be customized) and paste the code (the code copied in the previous step), and then click Save.
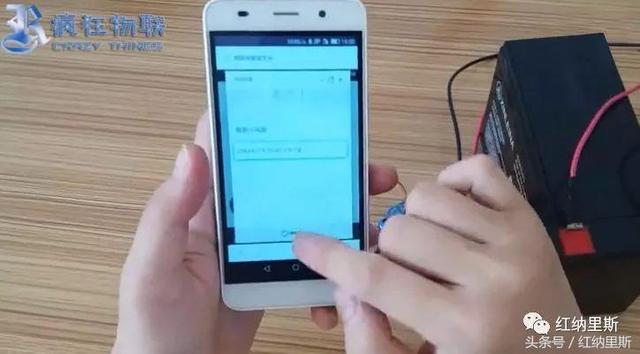
Please click here to enter a picture description
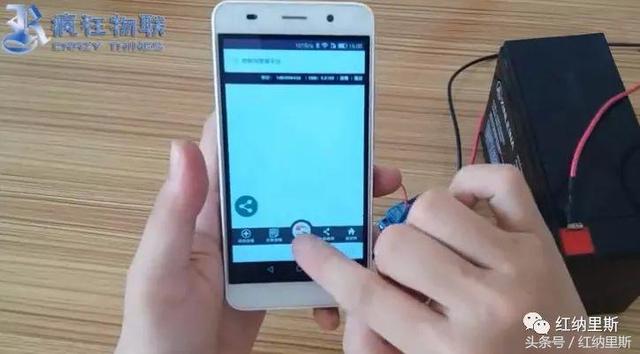
3. After exiting the dialog box, we still cannot see the newly added device. Because you have to click the middle refresh button. At this point you can see the device you just added.
Please click here to enter a picture description
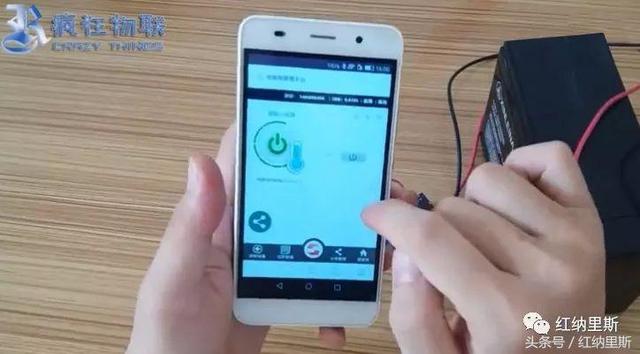
Please click here to enter a picture description
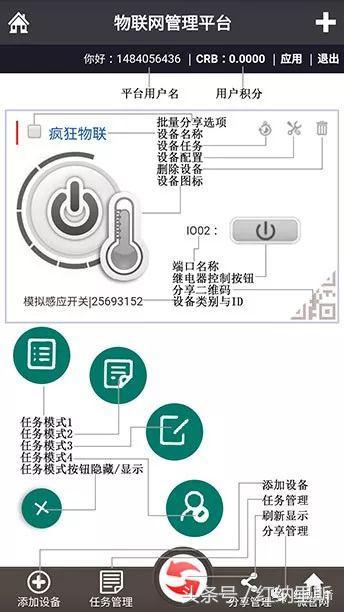
Briefly explain the role of various aspects of the management platform:
Device Name: Click on the device name to modify the name;
Device Icon: Click on the device icon to modify the icon. If the device icon is gray, the device is offline. If the color is displayed, it indicates that the device is still in control.
Relay control button: When gray is displayed, it is in the off state; the display is in color, and it is in the open state.
This controller is not limited to the LAN and can be controlled remotely. As long as there is a network, remote control can be done anytime, anywhere.
Please click here to enter a picture description
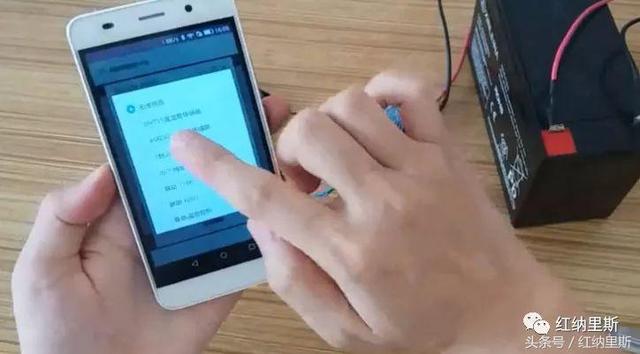
4. Display the data of 18B20 sensor: Click the tool button on the upper right to configure the device. Enter the basic configuration. Find "IO03(R)" Select "18B20 Temperature Sensor". (Because the 18B20 sensor accesses the multifunctional interface of the IoT controller, IO03(R) is a multi-function interface)
Please click here to enter a picture description
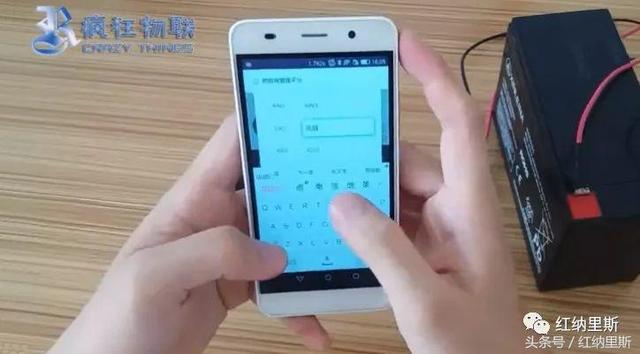
5. In order to express it plainly, we modify the name of the next port. In the port name management area, change IO02 to fan power, and IO03 to ambient temperature.
Please click here to enter a picture description
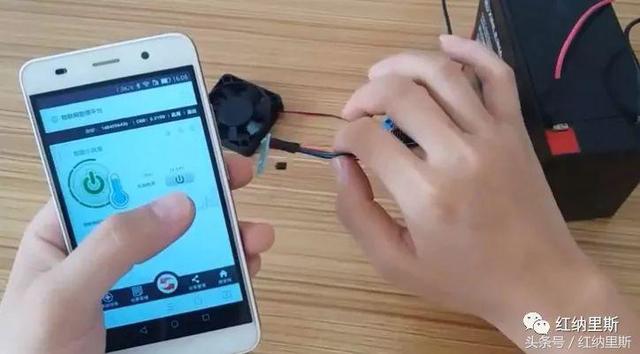
Finally click Save to exit the dialog. Click the refresh button again. At this time we can see the current temperature on the device interface.
Please click here to enter a picture description
05 linkage task
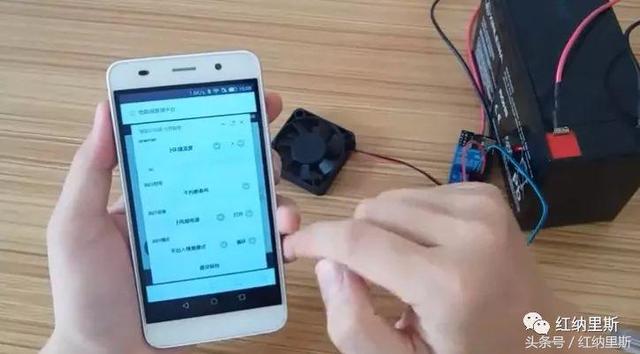
Set task: Turn on the fan when the current temperature is the specified temperature.
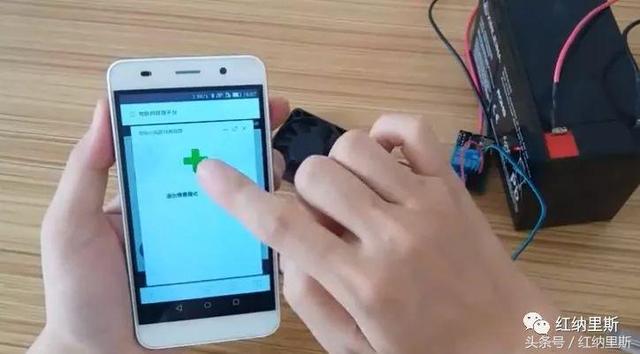
1. Click on the upper right control task (similar to the clock icon), enter the task list and click on the "+" to add the task.
Please click here to enter a picture description
In the device judgment, select "ambient temperature" ">" "30"
Timing, select "do not judge conditions."
Execute the device and select "Power Fan" "On".
Finally click Save.
Please click here to enter a picture description
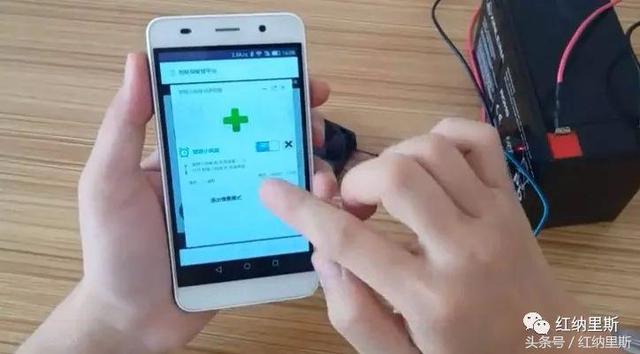
We return to the task list and can see the task just added: When the ambient temperature is greater than 30, turn on the fan power of the smart fan.
Then in this lower right corner there is an "Execution: 0:00-23:59" meaning to perform this task all day. Click "Execute: 0:00-23:59" to modify the execution task time. (This task can only be performed within the specified time. Even if the temperature has reached 30°, this task cannot be performed and the fan cannot be turned on.)
Please click here to enter a picture description
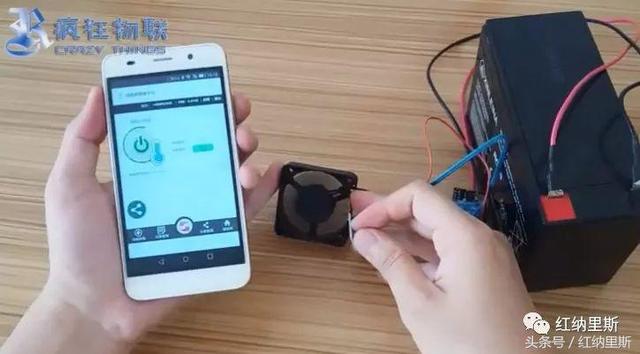
The final result.
Please click here to enter a picture description
06 common problems
1. What to do if you need to modify the wifi name or wifi password?
A: A router is turned off, so that it can not access the Internet, so that the AP hot spots at the beginning of the “ESP_†of the IoT controller are generated again. Connect again to edit. The other is to move it to a place where there is no internet access.
2. What if I don't copy to the code?
A: The network is disconnected, so that it cannot access the Internet, and then the IoT controller will automatically generate the AP hotspot at the beginning of "ESP_" again.
ZGAR bar 4000 Puffs
ZGAR electronic cigarette uses high-tech R&D, food grade disposable pod device and high-quality raw material. All package designs are Original IP. Our designer team is from Hong Kong. We have very high requirements for product quality, flavors taste and packaging design. The E-liquid is imported, materials are food grade, and assembly plant is medical-grade dust-free workshops.
Our products include disposable e-cigarettes, rechargeable e-cigarettes, rechargreable disposable vape pen, and various of flavors of cigarette cartridges. From 600puffs to 5000puffs, ZGAR bar Disposable offer high-tech R&D, E-cigarette improves battery capacity, We offer various of flavors and support customization. And printing designs can be customized. We have our own professional team and competitive quotations for any OEM or ODM works.
We supply OEM rechargeable disposable vape pen,OEM disposable electronic cigarette,ODM disposable vape pen,ODM disposable electronic cigarette,OEM/ODM vape pen e-cigarette,OEM/ODM atomizer device.

Disposable Vape, bar 4000puffs, ZGAR bar disposable, Disposable E-cigarette, OEM/ODM disposable vape pen atomizer Device E-cig
ZGAR INTERNATIONAL(HK)CO., LIMITED , https://www.szvape-pods.com